Examples of Using RAW Editing
Before After
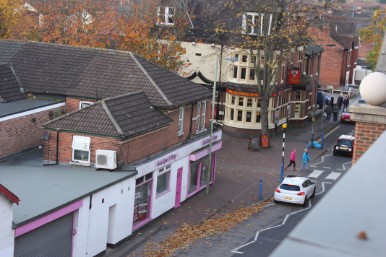

For these first two photos I decided that I wanted to only select a specific object to keep the colour of and leave the rest of the picture black and white. To do this I used the Lasso tool to select around the two main people in the picture. Once I had selected both of them I created a new layer via copy. Finally i adjusted the contrast and colour tools to saturate the rest of the picture.
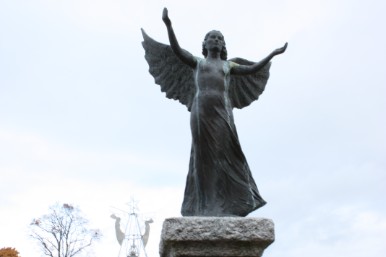 | 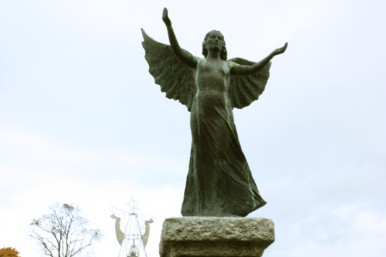 |
For the statue pictures I decided to change the channel mixer presets and the selective colour preset, and change several of the colours e.g. Blue, green and red to finally give the statue a more worn and weathered colour.
 | 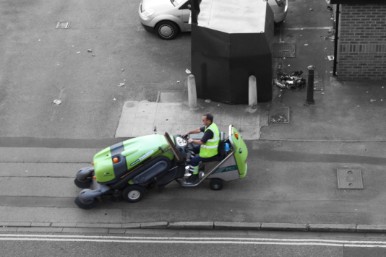 |
This is just another example of only selecting one image to keep the colour to focus on a particular subject within the photo
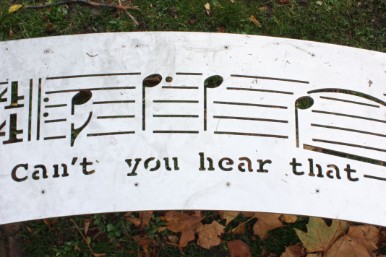 | 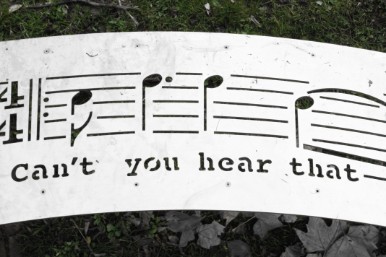 |
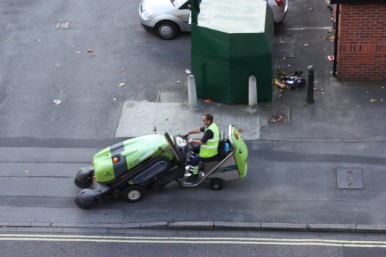
On these two pictures I wanted them to only depict one colour throughout - green. To do this I delicate the layers and then went to Colour Range and used the eye-dropper tool to select the colour that i wanted to keep. Then I selected the layer mask to add the colour to the background image. After that I selected the background and went to image adjustments and then gradient map which brings up a range of choices of colours to use. I choose the third one in, black and white. But then I still had to use the eraser tool because a few parts of the picture was still green i.e. the leaves, to finally create a 'only green' picture.
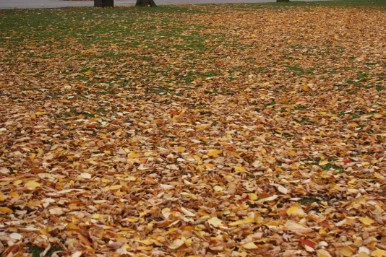 | 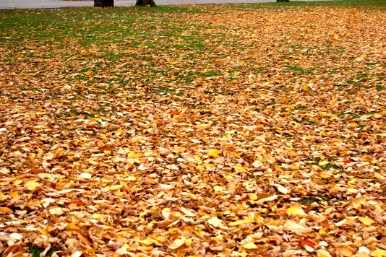 |
For this picture I wanted to make the leaves and the colours a lot sharper that the original picture. To do this I went to adjustments on the left hand side of the screen, and choose 'expose presets' and then changed the level to plus 1.0 and then plus 2.0. I then continued to adjust the vibrance and the saturation levels to finally create a sharper picture. Overall it makes the picture a lot more eye catching and with a clearer focus
